Why Re-Roof With Monier?
• The roof can make up to 30% of your homes façade, so it has a major bearing on the overall look. Re-roofing creates an opportunity to refresh the design of your home
• Increase the re-sale value to your home by 3% when re-roofing with Monier roof tiles
• Reduce the need for ongoing maintenance of an old roof by using the best products available on the market today. This will also deter additional expenses you may incur by completing a quick fix solution
• Improve the performance of your roof by adding insulation and ventilation to your roof space and consider sarking if your roof cavity doesn’t already have it. These factors alone will increase indoor comfort and further protect your home from the harsh Australian conditions
• In some cases, the cost of repairing, fixing, or recolouring an existing roof can cost just as much – if not more – than the cost of undertaking a full re-roof
• Consider installing Monier Solar Roofing products including INLINEsolar™ and SOLARtile™ to encourage energy savings without compromising the street appeal of your home
UNDERSTANDING THE RE-ROOFING PROCESS.
Re-roofing can take 2 to 4 days to complete, depending on the size of the roof. There are 10 steps to the re-roofing process.

Safety is a priority. Before commencing any work Monier guardrail is installed around the perimeter of the roof to prevent roof tilers from falling and to keep your family safe.

All the old roof tiles and ridge are removed.

The roof timbers are inspected to make sure the battens are sound.

Sarking provides insulation and reflects up to 95% of radiant heat entering the roof.

New battens are installed ready for the new roof tiles to be laid.

New battens are installed ready for the new roof tiles to be laid.

Tiles are laid sequentially up the roof from the gutter line and fixing clips, or nails, are used to secure the roof tiles to the roof.

Ridge tiles are installed and bedded in place using mortar.

Pointing is a flexible material that covers the mortar and comes in a colour that matches the roof tile. It acts as a mechanical fastener, keeping the ridge in place. It is also used to finish the tiles at the gable or edge of the roof.

Guard-rail is removed and the site is tidied and any left over roof tiles removed.
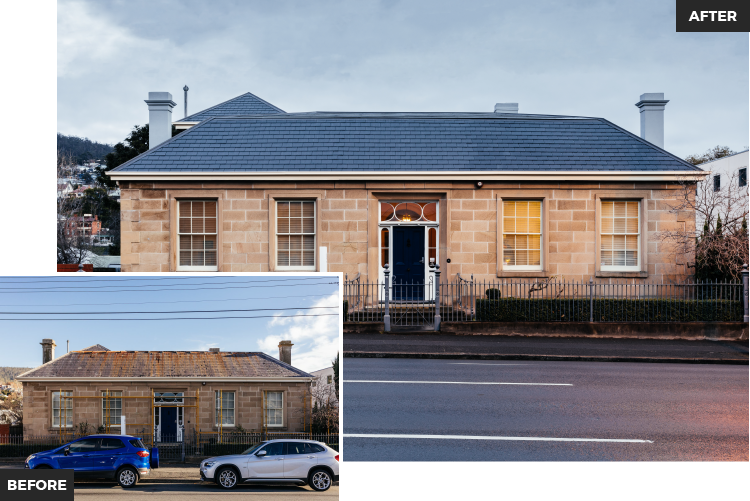
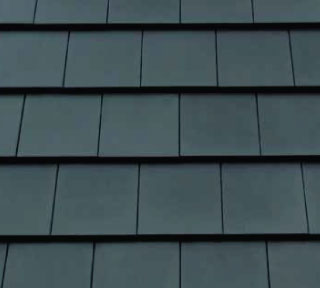
This re-roof transformation uses Monier's Elemental Slate tile in Titan as an alternative to traditional slate tiles!
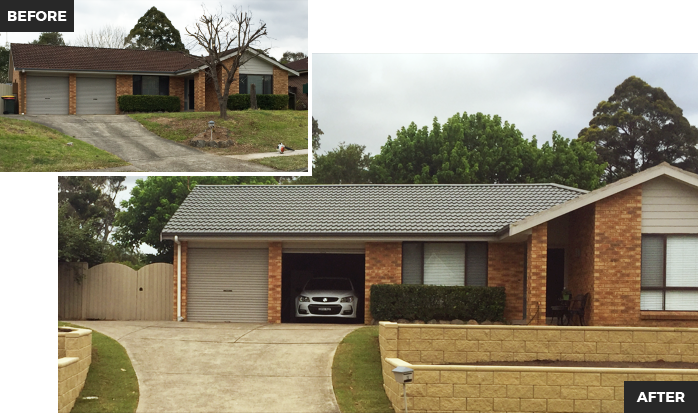
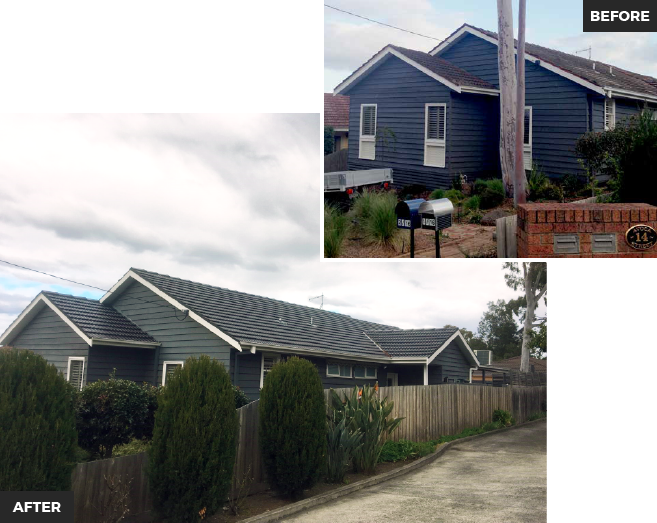
This re-roof uses Monier's Terracotta Nouveau tile in Titan to maintain the modern feel that the owners were trying to create!
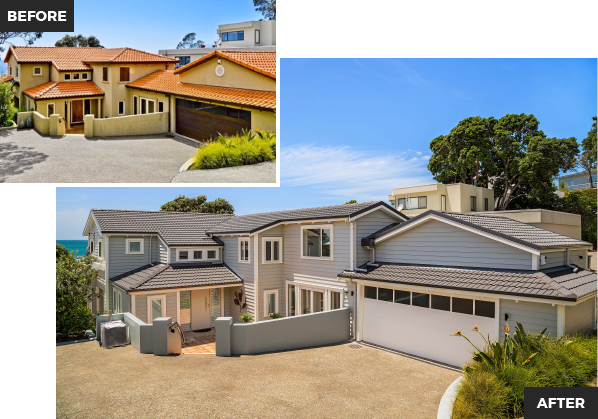
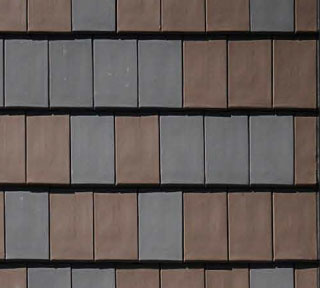
This re-roofing transformation uses Monier's Concrete Tudor tile in Hapuka to give this home a brand new look and feel!
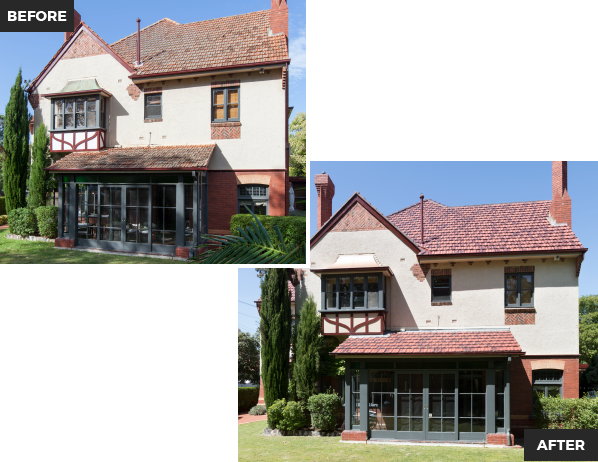
This subtle re-roof uses Monier's Terracotta Marseille tile in Tanbark to preserve the original look and feel of the grand home!
